Adding OpenCV 4.5.5 to Visual Studio 2022
Environment
- Windows 10 (64-bit)
- Visual Studio 2022
1. Download and extract the pre-built library
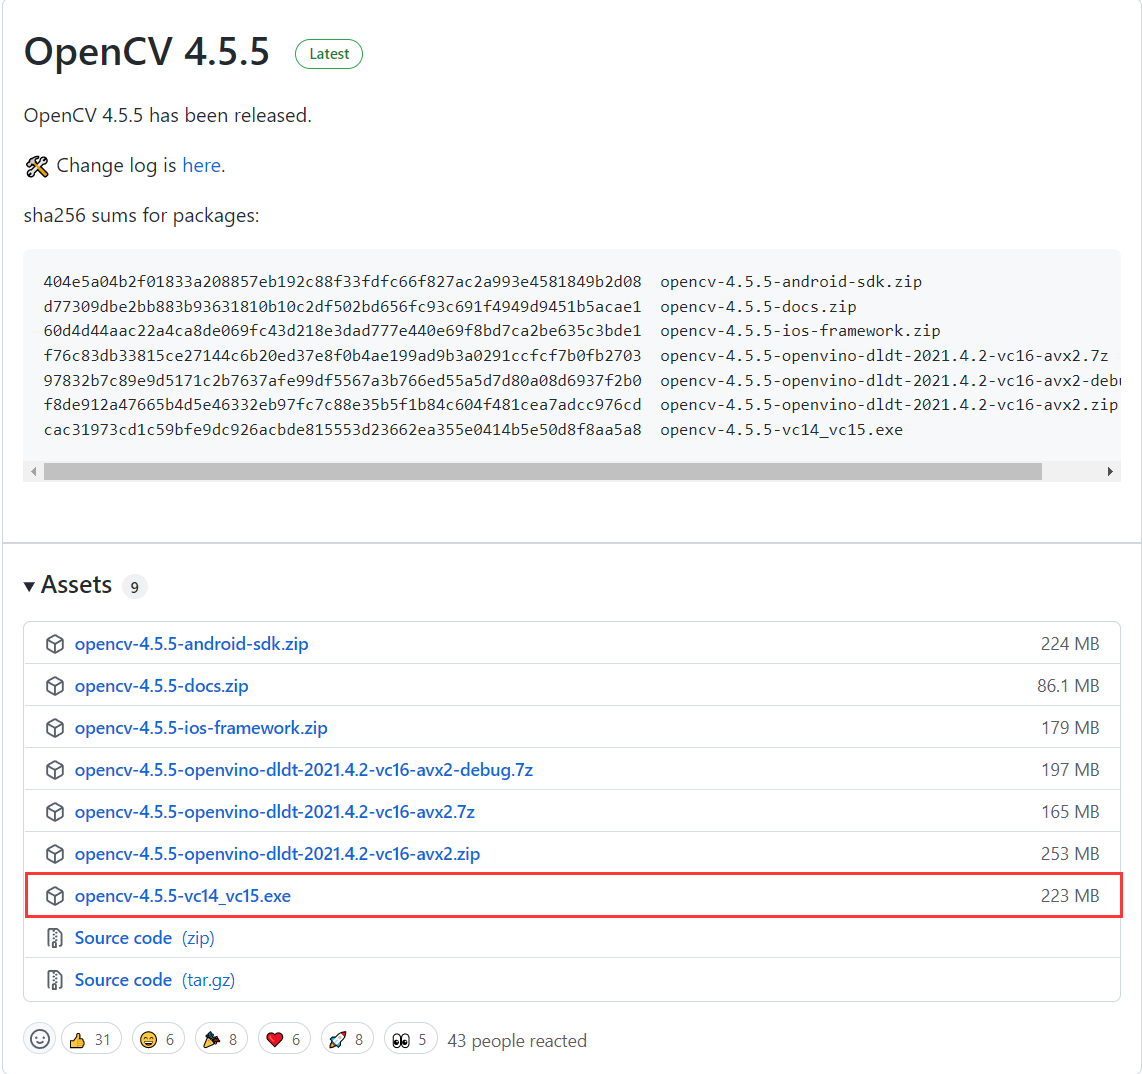
Download the latest binary from opencv’s Github repository.
Release files for 4.2.0 are listed at https://github.com/opencv/opencv/releases/tag/4.5.5.
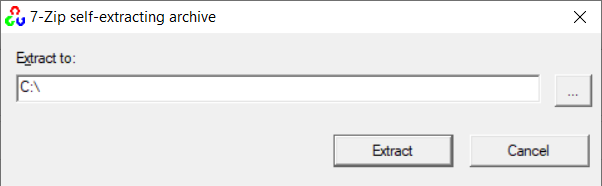
Run the downloaded .exe file to extract the archive.
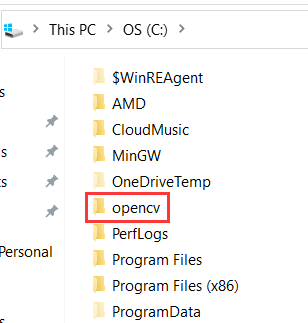
For the sake of uniformity, this tutorial will assume that you’ve extracted the contents to c:\.
If you’d like to use a different path, it is completely fine. You simply need to adjust the paths in the later sections of this post.
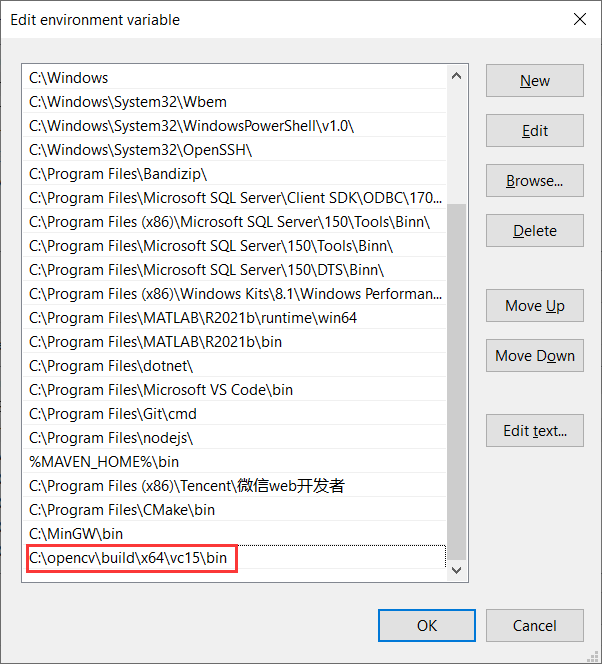
2. Add to path
Add opencv’s bin directory to path. If you’ve extracted the downloaded .exe file into c:\, the path to the bin directory should be C:\opencv\build\x64\vc15\bin.
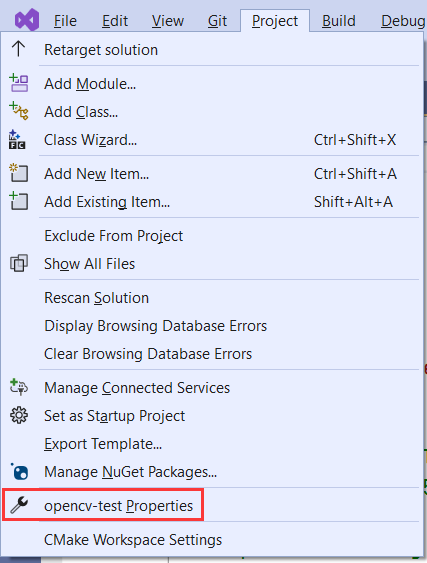
3. Create a project in Visual Studio 2022
First, select Create a new project.
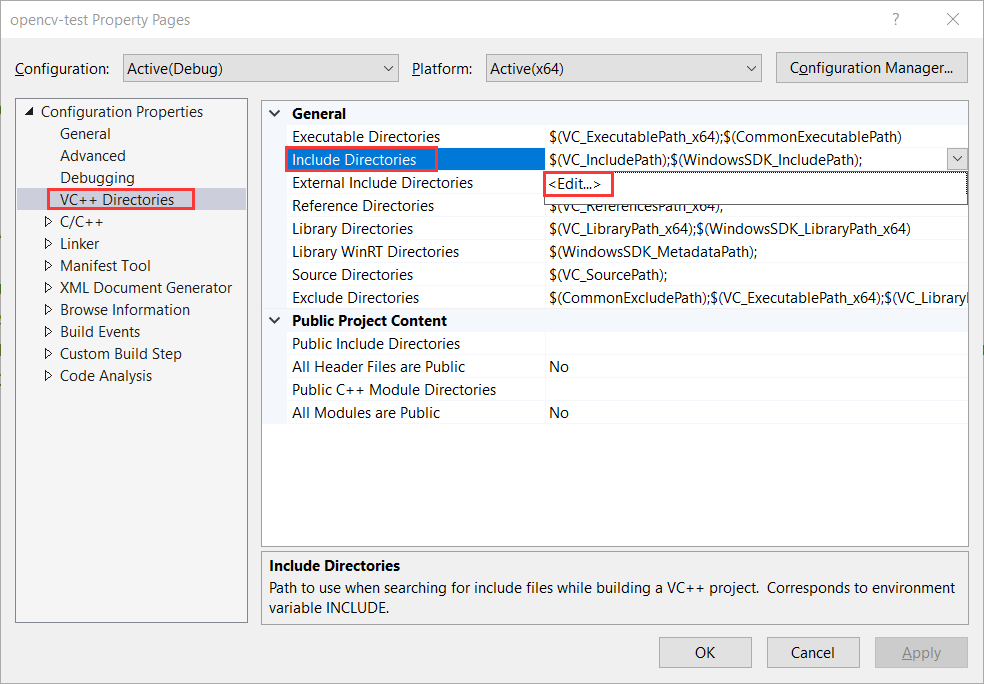
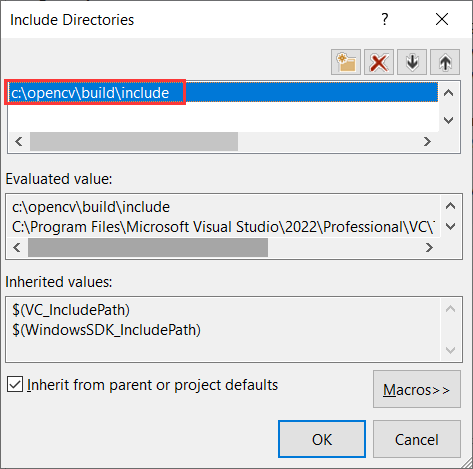
In Include Directories window, add c:\opencv\build\include.
Click OK. In the same tab, look for Library Directories. Again, click on the down arrow and select <Edit…>.
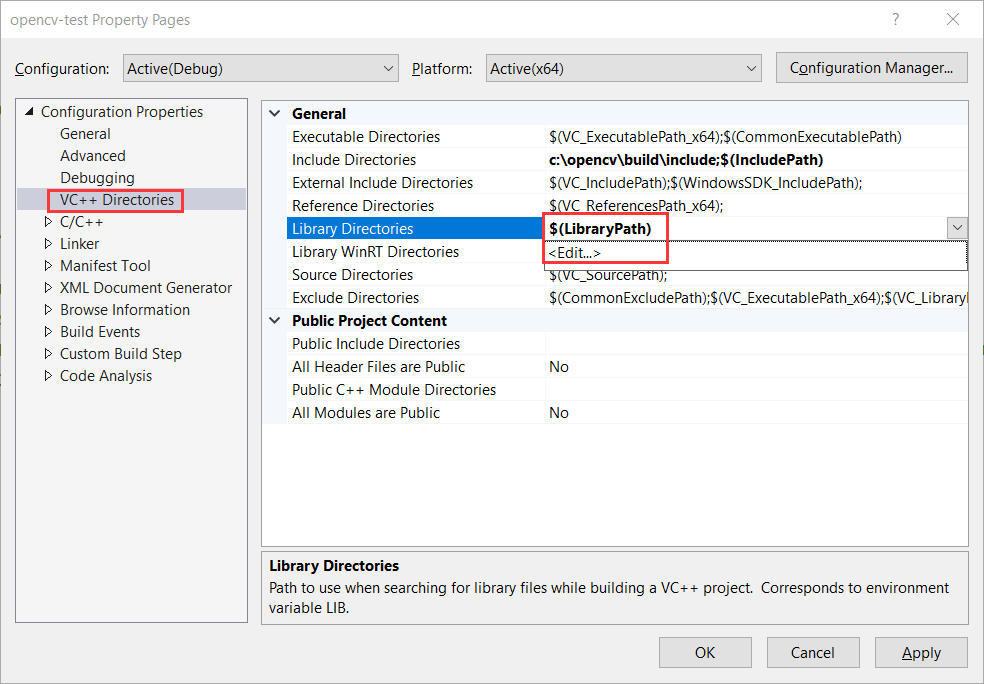
c:\opencv\build\x64\vc15\lib
The VC++ Directories tab should look like below:
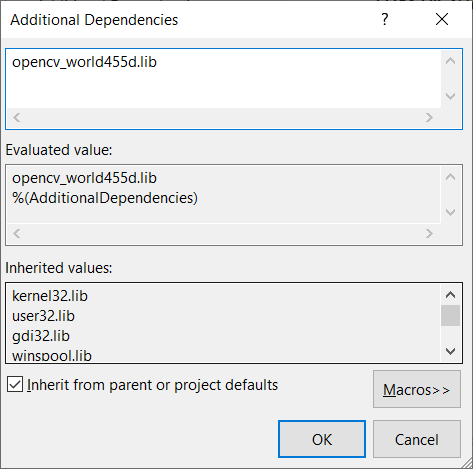
It’s time to list the module dependencies. As mentioned above, we are only going to add a single all-in-one module named opencv_world.
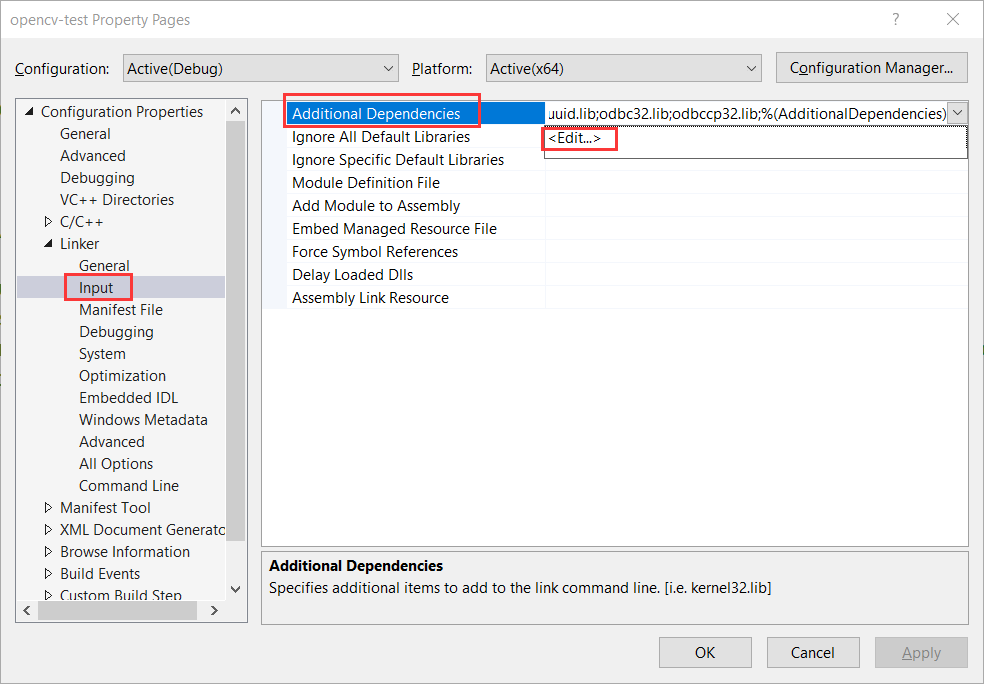
opencv_world450d.lib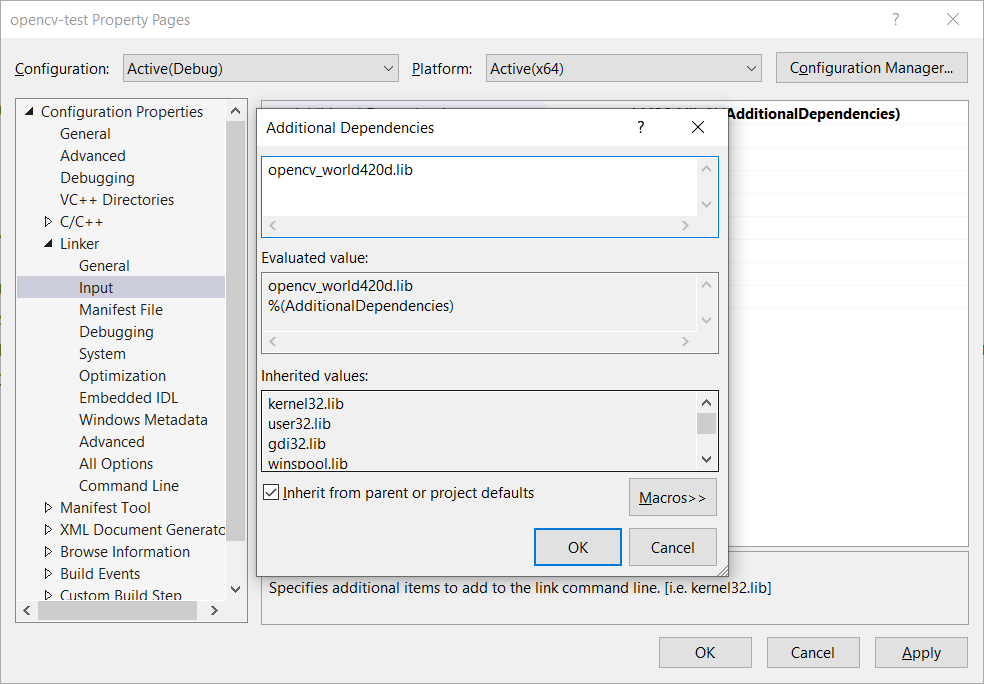
The Linker tab should look like below: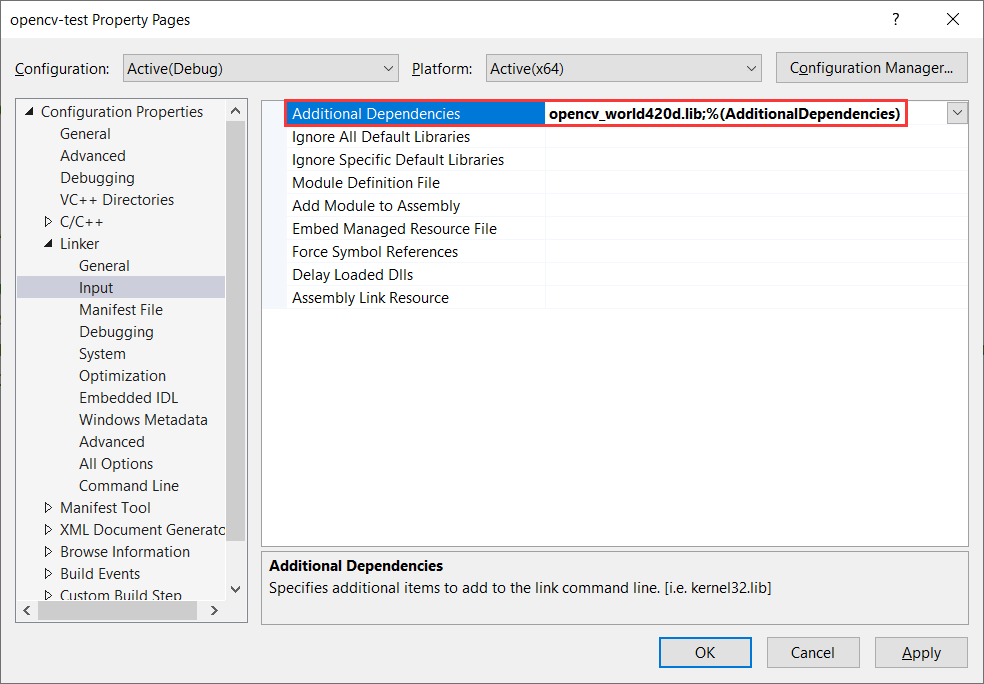
We now should be ready to write some OpenCV code and see it in action.
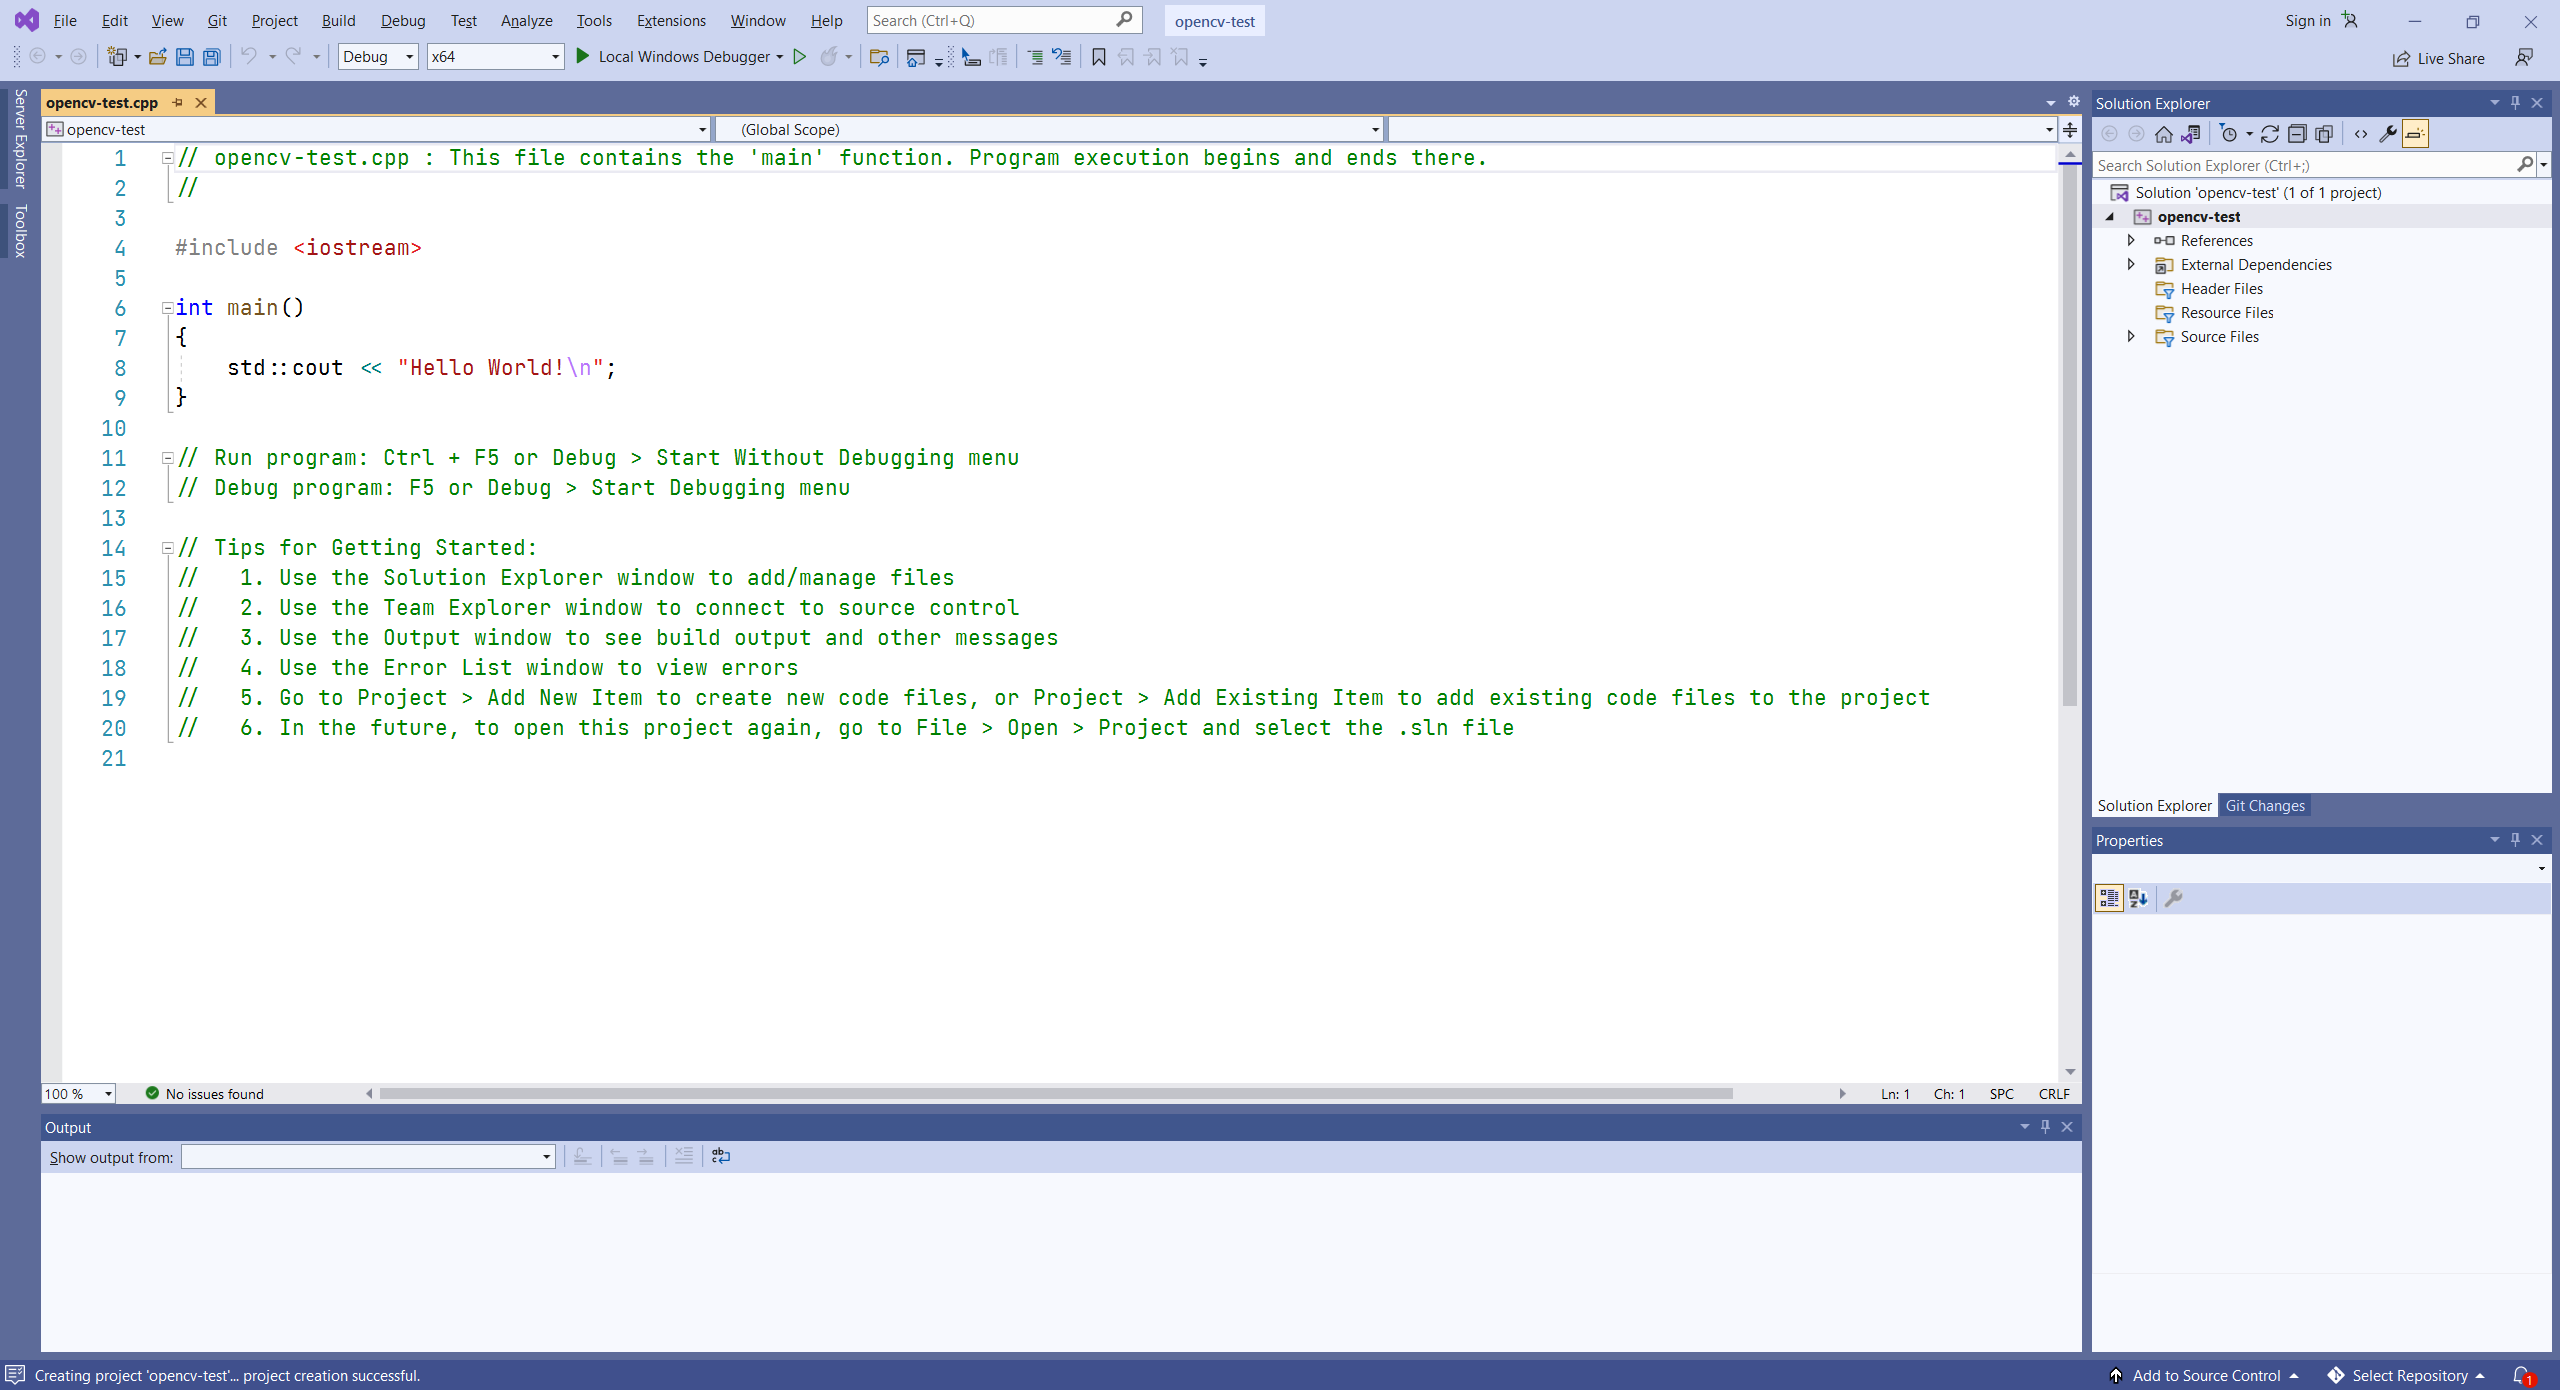
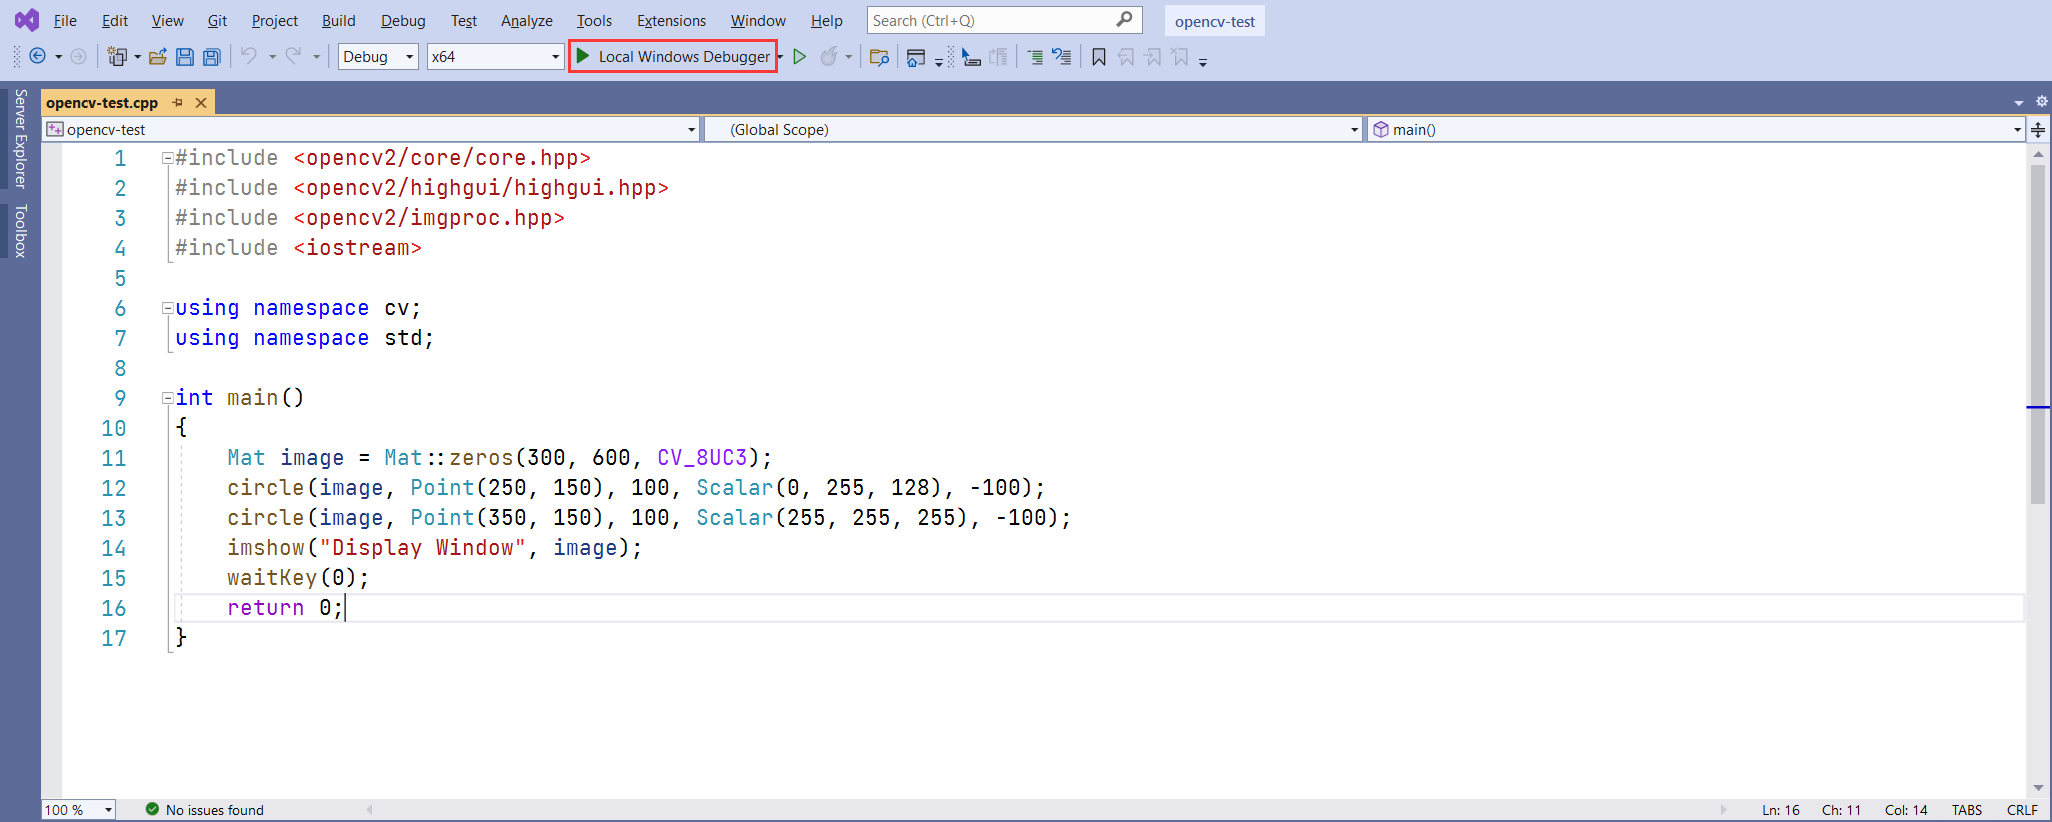
4. Check out demo code!
Copy and paste the code below and press F5 to run (or click on the Run button with the label “Local Windows Debugger”.
1 | |

But wait — I’m still having issues!
Please go over the previous steps carefully to see if you’ve made a typo or missed a step.
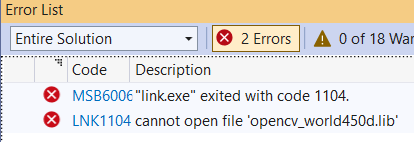
Also, if you’re getting an build error with the message “LNK 1104: Cannot open file ‘opencv_world4xxd.lib’, go to the lib directory at C:\opencv\build\x64\vc15\lib to check that the opencv_world450d.lib file exists. If it does, make sure the file name matches the additional dependency we’ve added to Linker Inputs.