Node Version Manager (nvm-windows): A Basic Guide
Node Version Manager (NVM) is an essential tool for Node.js developers that allows you to easily manage multiple Node.js versions on a single machine. This flexibility is invaluable when working across different projects with varying Node.js version requirements.
What is NVM?
NVM is a version manager for Node.js, designed to be installed per-user and invoked per-shell. It allows you to:
- Install and maintain multiple Node.js versions
- Switch between different versions with a single command
- Set a default Node.js version for your environment
- Use different Node.js versions in different terminal sessions
Official NVM Repository: https://github.com/coreybutler/nvm-windows
Uninstalling Existing Node.js
Before installing NVM, it’s recommended to uninstall any existing Node.js installations to prevent conflicts.
For Windows:
- Go to Control Panel > Programs > Uninstall a program
- Find Node.js in the list and uninstall it
- Delete any remaining Node.js and npm directories:
C:\Program Files\nodejsC:\Program Files (x86)\nodejsC:\Users\{username}\AppData\Roaming\npmC:\Users\{username}\AppData\Roaming\npm-cache
- Check environment variables and remove any Node.js references
- Restart your computer
Installing NVM
For Windows:
For Windows, there’s a separate project called nvm-windows:
- Download the installer from nvm-windows releases
- Run the installer and follow the installation wizard
- Restart your terminal after installation
Basic NVM Usage
Once installed, you can use these commands to manage your Node.js versions:
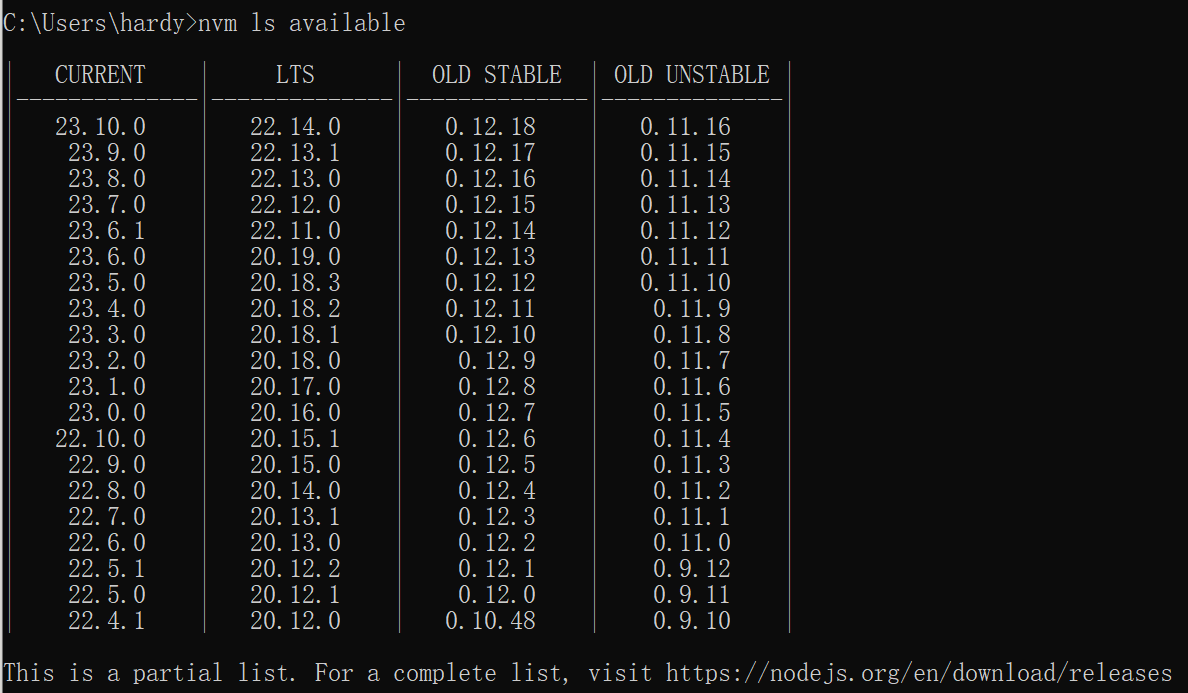
List Available Node.js Versions
1 | |
Install a Specific Node.js Version
1 | |
List Installed Node.js Versions
1 | |

Switch Between Node.js Versions
1 | |
Advanced Usage
Project-Specific Node.js Version
Create a .nvmrc file in your project root containing the Node.js version:
1 | |
Then in the project directory, simply run:
1 | |
This will automatically switch to the version specified in the .nvmrc file.
Running with Path
1 | |