Getting Started with Next.js

Official Documentation

For comprehensive documentation and tutorials, visit the official Next.js website:

Next.js is a powerful React framework that enables developers to build fast, SEO-friendly, and feature-rich web applications.
Created by Vercel, Next.js has become one of the most popular choices for modern web development due to its excellent developer experience and robust feature set.

What is Next.js?

Next.js is a React framework that provides structure, features, and optimizations for your web applications. It handles the tooling and configuration needed for React, and adds additional features like server-side rendering, static site generation, API routes, and more.

Key Features of Next.js

1. Rendering Methods

Next.js offers multiple rendering options:

  • Server-Side Rendering (SSR): Generates HTML on each request
  • Static Site Generation (SSG): Pre-renders pages at build time
  • Incremental Static Regeneration (ISR): Updates static pages after deployment
  • Client-Side Rendering: Traditional React rendering in the browser

2. File-Based Routing

Next.js implements file-based routing, meaning the URL structure is determined by how you organize your files in the pages directory. For example:

  • pages/index.js/
  • pages/about.js/about
  • pages/blog/[id].js/blog/1, /blog/2, etc.

3. API Routes

Create API endpoints as Node.js serverless functions:

  • pages/api/hello.js/api/hello

4. Built-in CSS Support

Next.js supports various styling methods:

  • CSS Modules
  • Sass/SCSS
  • Styled-components
  • Tailwind CSS
  • Global CSS

5. Image Optimization

The next/image component automatically optimizes images for better performance.

6. Fast Refresh

Edit your code and see changes instantly without losing component state.

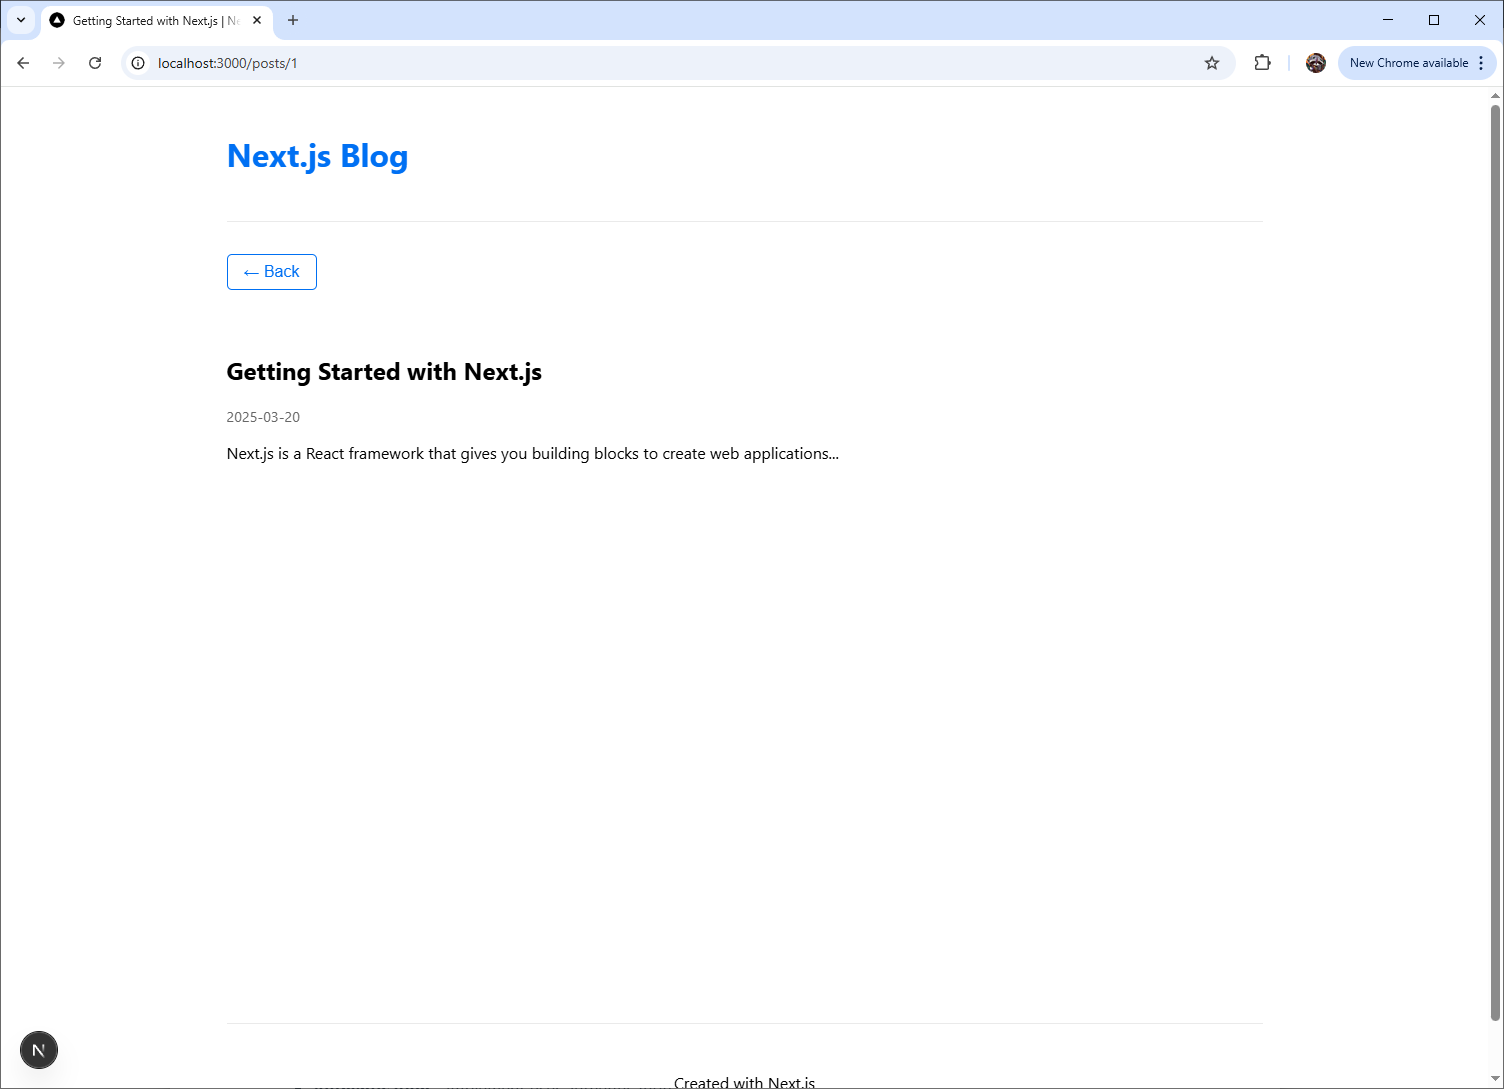
Getting Started: A Simple Example

Let’s build a simple blog page to demonstrate Next.js fundamentals.

Project Structure

1
2
3
4
5
6
7
8
9
10
11
12
13
14
15
16
17
18
19
20
my-nextjs-blog/
├── pages/
│ ├── index.tsx
│ ├── posts/
│ │ └── [id].tsx
│ └── api/
│ └── posts.tsx
├── components/
│ ├── Layout.tsx
│ └── PostCard.tsx
├── styles/
│ ├── globals.css
│ └── Home.module.css
├── public/
│ └── images/
│ └── logo.png
├── data/
│ └── posts.ts
├── package.json
└── next.config.ts

Step 1. Initialize a new Next.js project

1
npx create-next-app my-nextjs-blog

Step 2. Create data file

File data/posts.ts

1
2
3
4
5
6
7
8
9
10
11
12
13
14
15
16
17
18
19
20
21
22
23
24
25
26
27
28
29
30
31
32
export interface Post {
id: number;
title: string;
excerpt: string;
content: string;
date: string;
}


export const posts: Post[] = [
{
id: 1,
title: "Getting Started with Next.js",
excerpt: "Learn the basics of Next.js and build your first application.",
content: "Next.js is a React framework that gives you building blocks to create web applications...",
date: "2025-03-20"
},
{
id: 2,
title: "Working with API Routes",
excerpt: "Create backend functionality with Next.js API Routes.",
content: "Next.js API Routes allow you to build your API directly within your Next.js application...",
date: "2025-03-22"
},
{
id: 3,
title: "Static vs. Server Rendering",
excerpt: "Understanding different rendering methods in Next.js.",
content: "Next.js provides multiple ways to render your pages: Static Generation, Server-side Rendering...",
date: "2025-03-24"
}
];

Step 3. Create Component Files

File components/Layout.tsx.

1
2
3
4
5
6
7
8
9
10
11
12
13
14
15
16
17
18
19
20
21
22
23
24
25
26
27
28
29
30
31
import Head from 'next/head';
import Link from 'next/link';
import styles from '../styles/Home.module.css';

import { ReactNode } from 'react';

export default function Layout({ children, title = 'Next.js Blog' }: { children: ReactNode, title?: string }) {
return (
<div className={styles.container}>
<Head>
<title>{title}</title>
<meta name="description" content="A simple Next.js blog" />
<link rel="icon" href="/favicon.ico" />
</Head>

<header className={styles.header}>
<Link href="/">
<h1 className={styles.logo}>Next.js Blog</h1>
</Link>
</header>

<main className={styles.main}>
{children}
</main>

<footer className={styles.footer}>
<p>Created with Next.js</p>
</footer>
</div>
);
}

File components/PostCard.tsx

1
2
3
4
5
6
7
8
9
10
11
12
13
14
15
import Link from 'next/link';
import styles from '../styles/Home.module.css';
import { Post } from '@/data/posts';

export default function PostCard({ post }: { post: Post }) {
return (
<div className={styles.card}>
<Link href={`/posts/${post.id}`}>
<h2>{post.title}</h2>
<p>{post.excerpt}</p>
<div className={styles.date}>{post.date}</div>
</Link>
</div>
);
}

Step 4. Create Page Files

File pages/index.tsx.

1
2
3
4
5
6
7
8
9
10
11
12
13
14
15
16
17
18
import Layout from '../components/Layout';
import PostCard from '../components/PostCard';
import { posts } from '../data/posts';
import styles from '../styles/Home.module.css';

export default function Home() {
return (
<Layout title="Home | Next.js Blog">
<h1 className={styles.title}>Welcome to My Blog</h1>

<div className={styles.grid}>
{posts.map((post) => (
<PostCard key={post.id} post={post} />
))}
</div>
</Layout>
);
}

File pages/posts/[id].tsx

1
2
3
4
5
6
7
8
9
10
11
12
13
14
15
16
17
18
19
20
21
22
23
24
25
26
27
28
29
30
31
32
33
34
35
36
37
38
39
40
41
42
43
44
45
46
47
48
49
50
51
52
53
54
55
56
57
58
59
60
61
62
63
64
65
66
67
68
69
import { GetStaticPaths, GetStaticProps } from 'next';
import { useRouter } from 'next/router';
import Layout from '../../components/Layout';
import { posts } from '../../data/posts';
import styles from '../../styles/Home.module.css';

interface Post {
id: number;
title: string;
excerpt: string;
content: string;
date: string;
}

interface PostProps {
post: Post;
}

// This function gets called at build time
export const getStaticPaths: GetStaticPaths = async () => {
// Get the paths we want to pre-render based on posts
const paths = posts.map((post) => ({
params: { id: post.id.toString() },
}));

// We'll pre-render only these paths at build time.
// { fallback: false } means other routes should 404.
return { paths, fallback: false };
}

// This function gets called at build time
export const getStaticProps: GetStaticProps<PostProps> = async ({ params }) => {
// Find the post by id
const post = posts.find(p => p.id.toString() === params?.id);

// If no post is found, return notFound
if (!post) {
return { notFound: true };
}

// Pass post data to the page via props
return { props: { post } };
}

export default function Post({ post }: PostProps) {
const router = useRouter();

// If the page is not yet generated, this will be displayed
if (router.isFallback) {
return <div>Loading...</div>;
}

return (
<Layout title={`${post.title} | Next.js Blog`}>
<button
className={styles.backButton}
onClick={() => router.back()}
>
← Back
</button>

<article className={styles.article}>
<h1>{post.title}</h1>
<div className={styles.date}>{post.date}</div>
<p>{post.content}</p>
</article>
</Layout>
);
}

File pages/api/posts.tsx

1
2
3
4
5
6
7
8
9
10
11
12
13
14
15
16
17
import { NextApiRequest, NextApiResponse } from 'next';
import { posts } from '../../data/posts';

type Data = {
id: number;
title: string;
excerpt: string;
content: string;
date: string;
}[];

export default function handler(
req: NextApiRequest,
res: NextApiResponse<Data>
) {
res.status(200).json(posts);
}

Step 5. Styling

File styles/globals.css

1
2
3
4
5
6
7
8
9
10
11
12
13
14
15
16
html,
body {
padding: 0;
margin: 0;
font-family: -apple-system, BlinkMacSystemFont, Segoe UI, Roboto, Oxygen,
Ubuntu, Cantarell, Fira Sans, Droid Sans, Helvetica Neue, sans-serif;
}

a {
color: inherit;
text-decoration: none;
}

* {
box-sizing: border-box;
}

File styles/Home.module.css

1
2
3
4
5
6
7
8
9
10
11
12
13
14
15
16
17
18
19
20
21
22
23
24
25
26
27
28
29
30
31
32
33
34
35
36
37
38
39
40
41
42
43
44
45
46
47
48
49
50
51
52
53
54
55
56
57
58
59
60
61
62
63
64
65
66
67
68
69
70
71
72
73
74
75
76
77
78
79
80
81
82
83
84
85
86
87
88
89
90
91
92
93
94
95
96
97
98
99
100
101
102
.container {
padding: 0 2rem;
max-width: 1100px;
margin: 0 auto;
}

.header {
padding: 1.5rem 0;
border-bottom: 1px solid #eaeaea;
}

.logo {
color: #0070f3;
cursor: pointer;
}

.main {
min-height: 80vh;
padding: 2rem 0;
}

.footer {
display: flex;
flex: 1;
padding: 2rem 0;
border-top: 1px solid #eaeaea;
justify-content: center;
align-items: center;
}

.title {
margin: 0 0 2rem;
line-height: 1.15;
font-size: 2.5rem;
text-align: center;
}

.grid {
display: flex;
align-items: stretch;
justify-content: center;
flex-wrap: wrap;
max-width: 800px;
margin: 0 auto;
}

.card {
margin: 1rem;
padding: 1.5rem;
text-align: left;
color: inherit;
text-decoration: none;
border: 1px solid #eaeaea;
border-radius: 10px;
transition: color 0.15s ease, border-color 0.15s ease;
width: 100%;
cursor: pointer;
}

.card:hover,
.card:focus,
.card:active {
color: #0070f3;
border-color: #0070f3;
}

.card h2 {
margin: 0 0 1rem 0;
font-size: 1.5rem;
}

.card p {
margin: 0;
font-size: 1.25rem;
line-height: 1.5;
}

.date {
margin-top: 1rem;
color: #666;
font-size: 0.9rem;
}

.article {
margin: 2rem 0;
}

.backButton {
padding: 0.5rem 1rem;
background: none;
border: 1px solid #0070f3;
color: #0070f3;
border-radius: 5px;
cursor: pointer;
font-size: 1rem;
margin-bottom: 2rem;
}

.backButton:hover {
background: #0070f3;
color: white;
}

Key Concepts Demonstrated in the Example

The example above demonstrates several key Next.js concepts:

  1. Pages and Routing - Creating pages in the pages directory that are automatically routed based on their filename.

  2. Dynamic Routes - The [id].js pattern for dynamic routing to individual blog posts.

  3. Data Fetching - Using getStaticProps and getStaticPaths for pre-rendering blog posts at build time.

  4. API Routes - A simple API endpoint at /api/posts that serves our blog post data.

  5. Components - Reusable React components for the layout and post card.

  6. Styling - CSS Modules for component-level styling.

  7. Navigation - Using Next.js’s Link component and the useRouter hook.

Running the Application

After setting up the project structure as shown in the example, you can run your Next.js application with:

1
2
3
npm run dev
# or
yarn dev

Then visit http://localhost:3000 in your browser to see your blog in action.

Next Steps

Once you’re comfortable with the basics, explore more advanced Next.js features:

  • Authentication - Implement user authentication
  • Database Integration - Connect to MongoDB, PostgreSQL, or other databases
  • State Management - Add Redux, React Context, or other state management solutions
  • Deployment - Deploy your Next.js app on Vercel, Netlify, or other platforms

Getting Started with Next.js
https://www.hardyhu.cn/2024/12/25/Getting-Started-with-Next-js/
Author
John Doe
Posted on
December 25, 2024
Licensed under